Dynamic Data Element
Last Update: November 30, 2025
The Avada Dynamic Data Element is an Inline Element that allows you to insert dynamic data directly into other text-based Elements.
It is only accessible as an Avada Element through the Inline Editor in Avada Live, or the Avada Element Generator. Outside of the Element, there is also a simple syntax you can use to add dynamic data directly into any text block. See the Inline Dynamic Data doc for more information on that. Watch the video below for a visual overview of the Element, and read on to see the complete list of options.
How To Use The Dynamic Data Element
The Avada Dynamic Data Element allows you to add dynamic data using the Inline Editor. It works similarly to other inline elements. The main difference, though, is that it doesn’t format the selected text; instead, it replaces it with your chosen dynamic data endpoint. You can use this Element in one of two ways:
Method 1
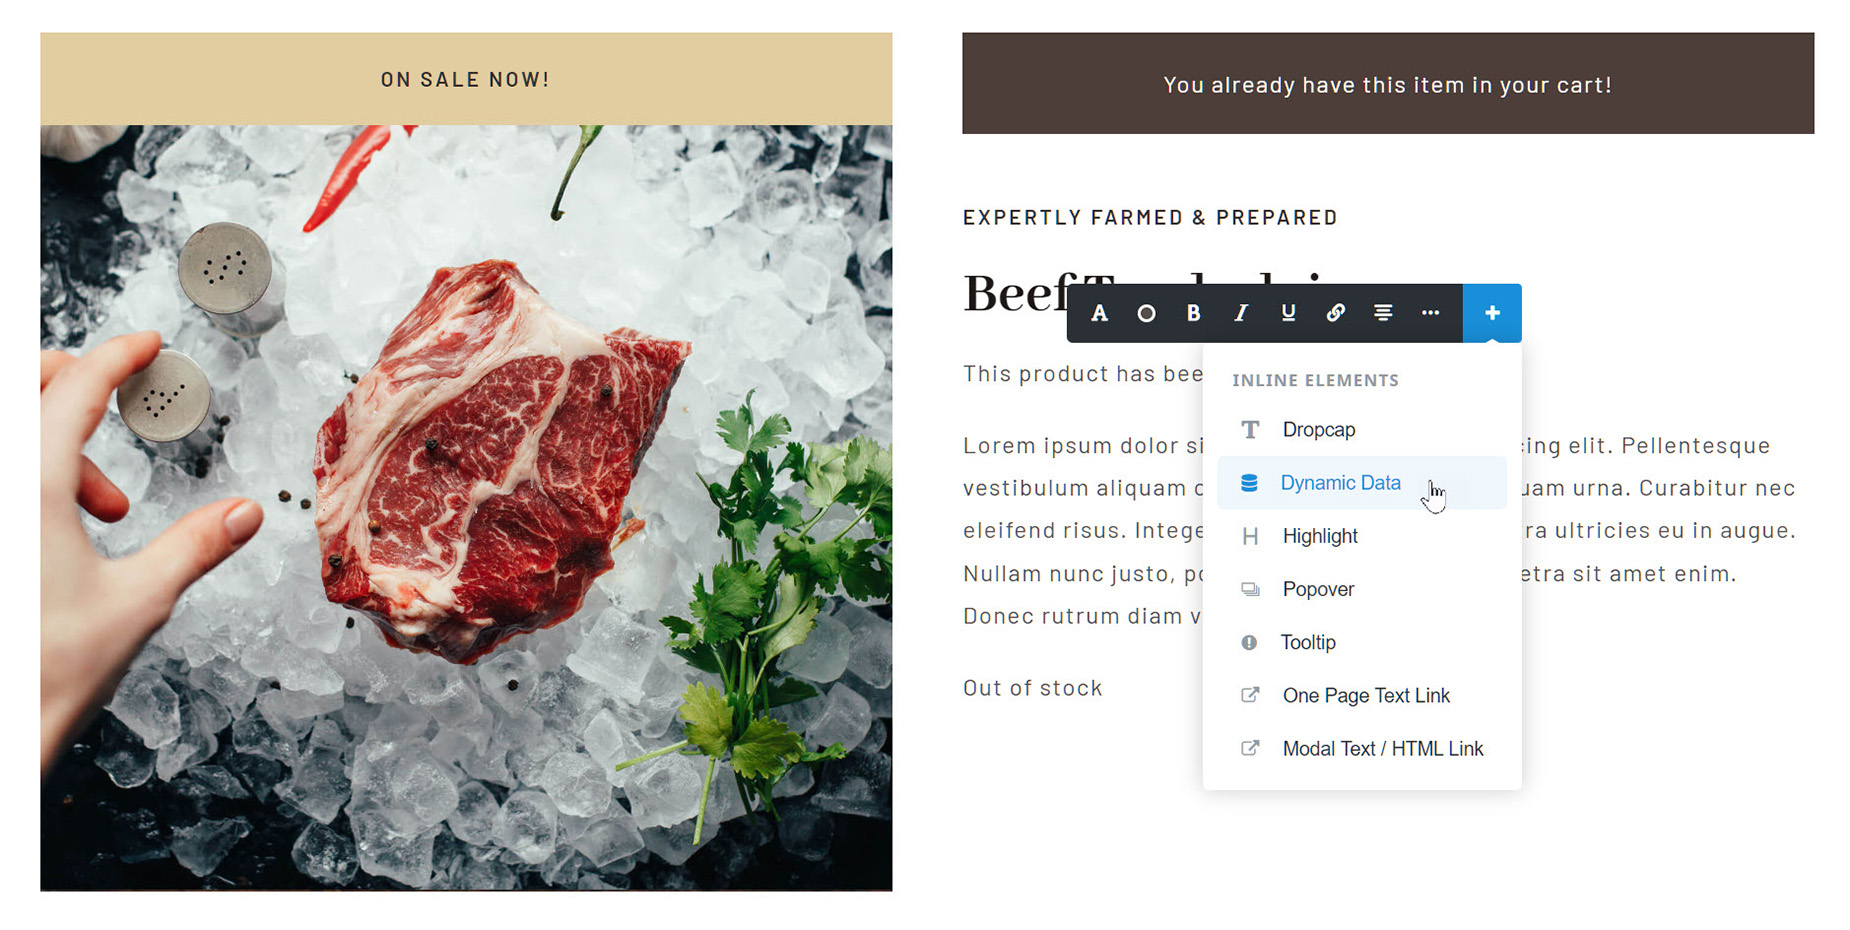
Below is a scenario where we want to add dynamic data to a single product layout section to display the number of times the specific product has been sold. With a placeholder in the text, select that text, and the Inline Editor will appear on the screen.

With this method, you would choose Dynamic Data from the list of Inline Elements. This would replace the placeholder text with the curly brackets, and then you would select your Dynamic Data endpoint.
Method 2
With this method, you simply place the cursor where you want to add the dynamic data, and then type the left curly bracket. This will autocomplete, and add the Dynamic Data Element. Then, choose from the selection of Dynamic Data Endpoints, in this case, the Product Total Sales.
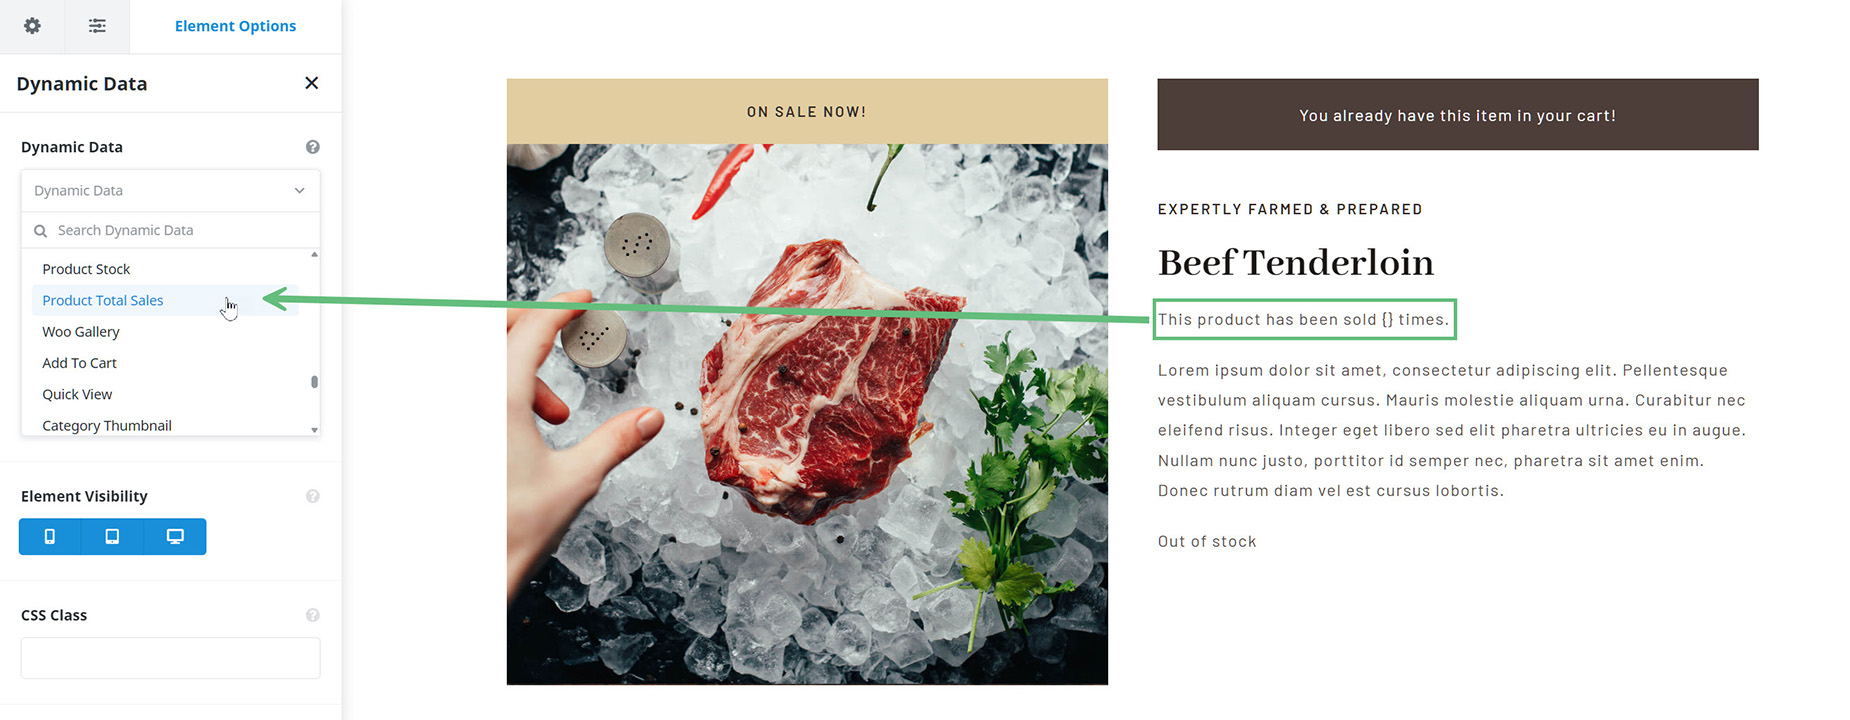
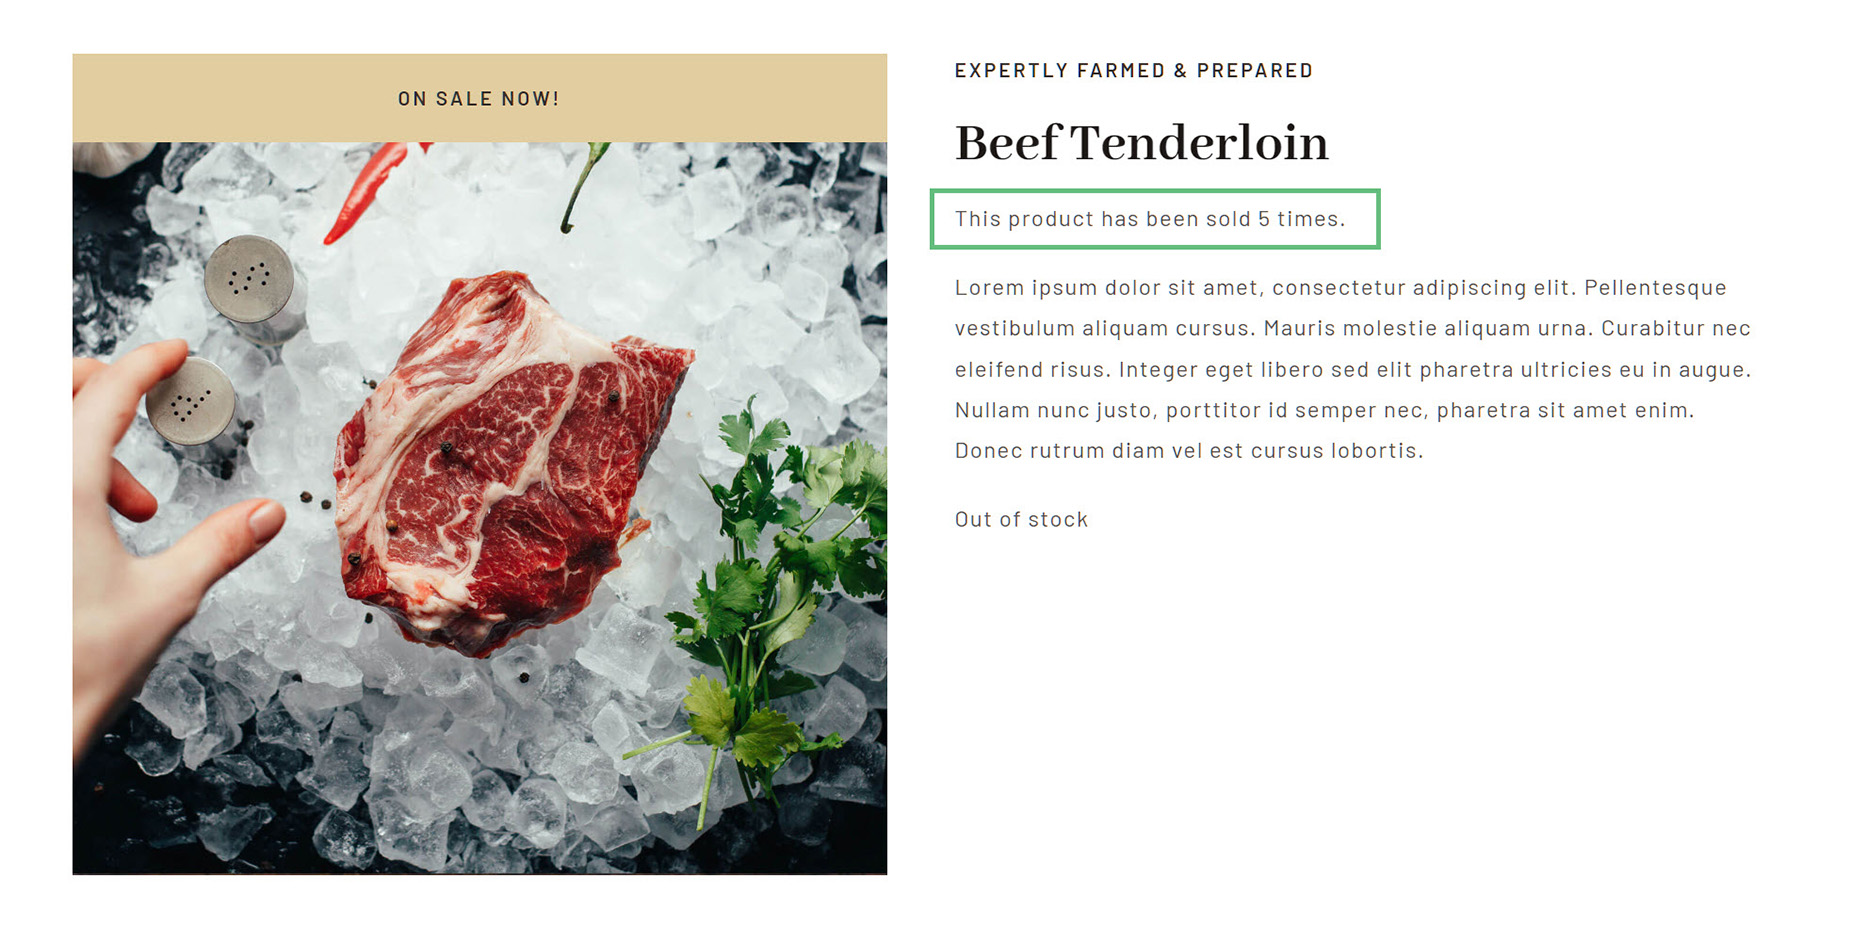
Regardless of which method you choose to add the element, on the front end, the product will now dynamically pull the Product Total Sales, and display it in the text.
Adding Multiple Dynamic Data Elements
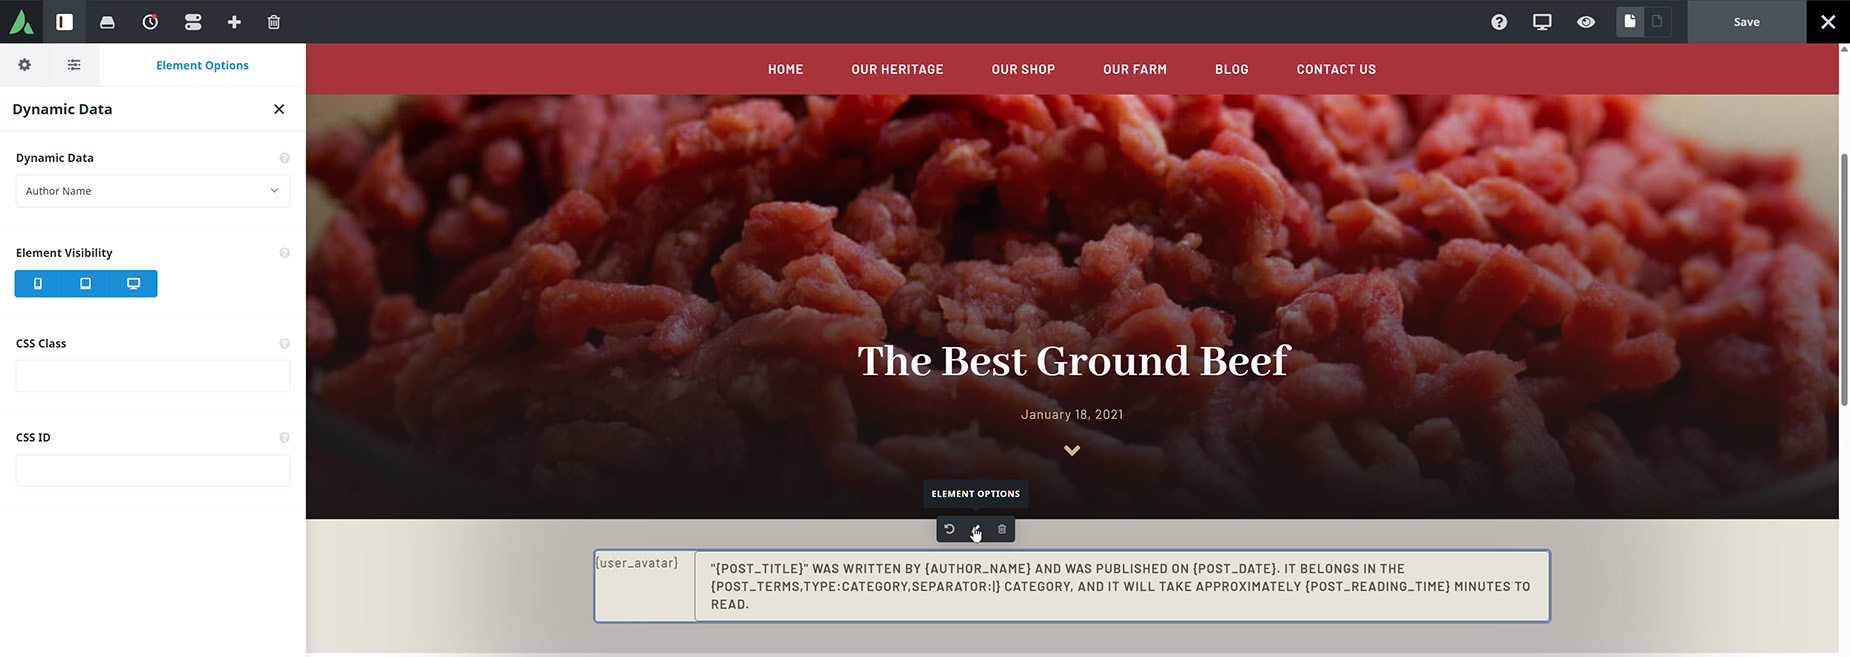
One of the main advantages of the Dynamic Data Element is that you can add it multiple times to a single text block. Below we can see an example of numerous Dynamic Data Elements placed into a Text Block in a Content Layout section, and below that, how they appear on the front end.
Dynamic Data Element in Builder